Hoe om 'n portefeulje te skep
Die portefeulje is noodsaaklik om raakgesien te word.
Die skep van 'n portefeulje is 'n goeie manier om jou aanlyn-teenwoordigheid te laat groei.
Die portefeulje word gebruik om jou vaardighede en projekte ten toon te stel.
Dit kan jou help om werk, vryskut-optrede of internskap te kry.
Skep my portefeulje gratis »Wat is 'n portefeulje
Die portefeulje kan dieselfde doel as 'n CV hê. Die meeste CV's word met teks geskryf, terwyl die portefeulje vir tentoonstelling is, dus is dit visueel met beelde en dikwels meer gedetailleerd as die CV.
Dit is 'n plek waar jy jou werkservaring kan wys en die projekte kan vertoon waarop jy die trotsste is.
Jou aanlyn portefeulje kan gedeel word met sy skakel na maatskappye, huurbestuurders en werwers, sodat hulle jou kan raaksien.
Dit gaan daaroor om ander 'n begrip te gee van wie jy as 'n professionele persoon is, te wys en te gee.
Hoekom 'n portefeulje skep
Dit is 'n goeie manier om jou aanlyn-teenwoordigheid te laat groei en raakgesien te word.
Dit kan gebruik word om werk te kry of om kliënte na jou dienste te lok.
Om dit aanlyn as 'n webwerf te hê. Maak dit vir mense regoor die wêreld moontlik om jou te vind.
Die ontwerp van die portefeulje sal die leser 'n indruk gee van wie jy is. Maak seker dat dit op 'n goeie en aanpasbare manier verskyn!
Vir wie is 'n portefeulje
Die skep van 'n portefeulje kan belangrik wees vir jou loopbaan.
Dit kan nuttig wees wanneer jy 'n werk soek, 'n vryskut-optrede of jou vaardighede aan 'n nuwe kliënt ten toon stel.
Tipiese rolle wat portefeuljes gebruik, is professionele persone soos, maar nie beperk tot:
- Sagteware-ontwikkelaars
- UX ontwerpers
- Grafiese ontwerpers
- Fotograwe
- Bemarkingspersoneel
- Argitekte
- Skrywers
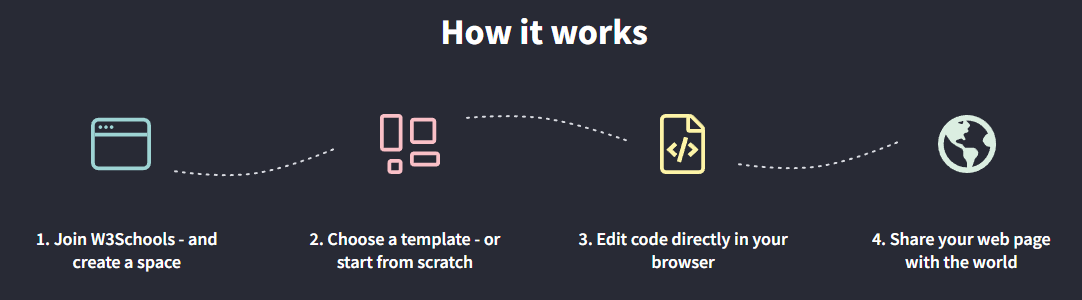
Al ooit gehoor van W3Schools Spaces ? Hier kan jy jou portefeulje van nuuts af skep of 'n sjabloon gebruik, en dit gratis aanbied.
Begin gratis ❯* geen kredietkaart benodig nie
Wat is die belangrikste afdelings in 'n portefeulje
Daar is baie verskillende maniere om 'n portefeulje te skep.
Hoe om dit te skep, hang af van watter tipe professionele persoon jy is, vir wie jy dit bou en hoekom jy dit skep.
Jy moet toets, druip en leer om uit te vind watter tipe portefeulje wat reg is vir jou!
Daar is 'n paar afdelings wat noodsaaklik is vir alle tipes portefeuljes, hieronder opgesom:
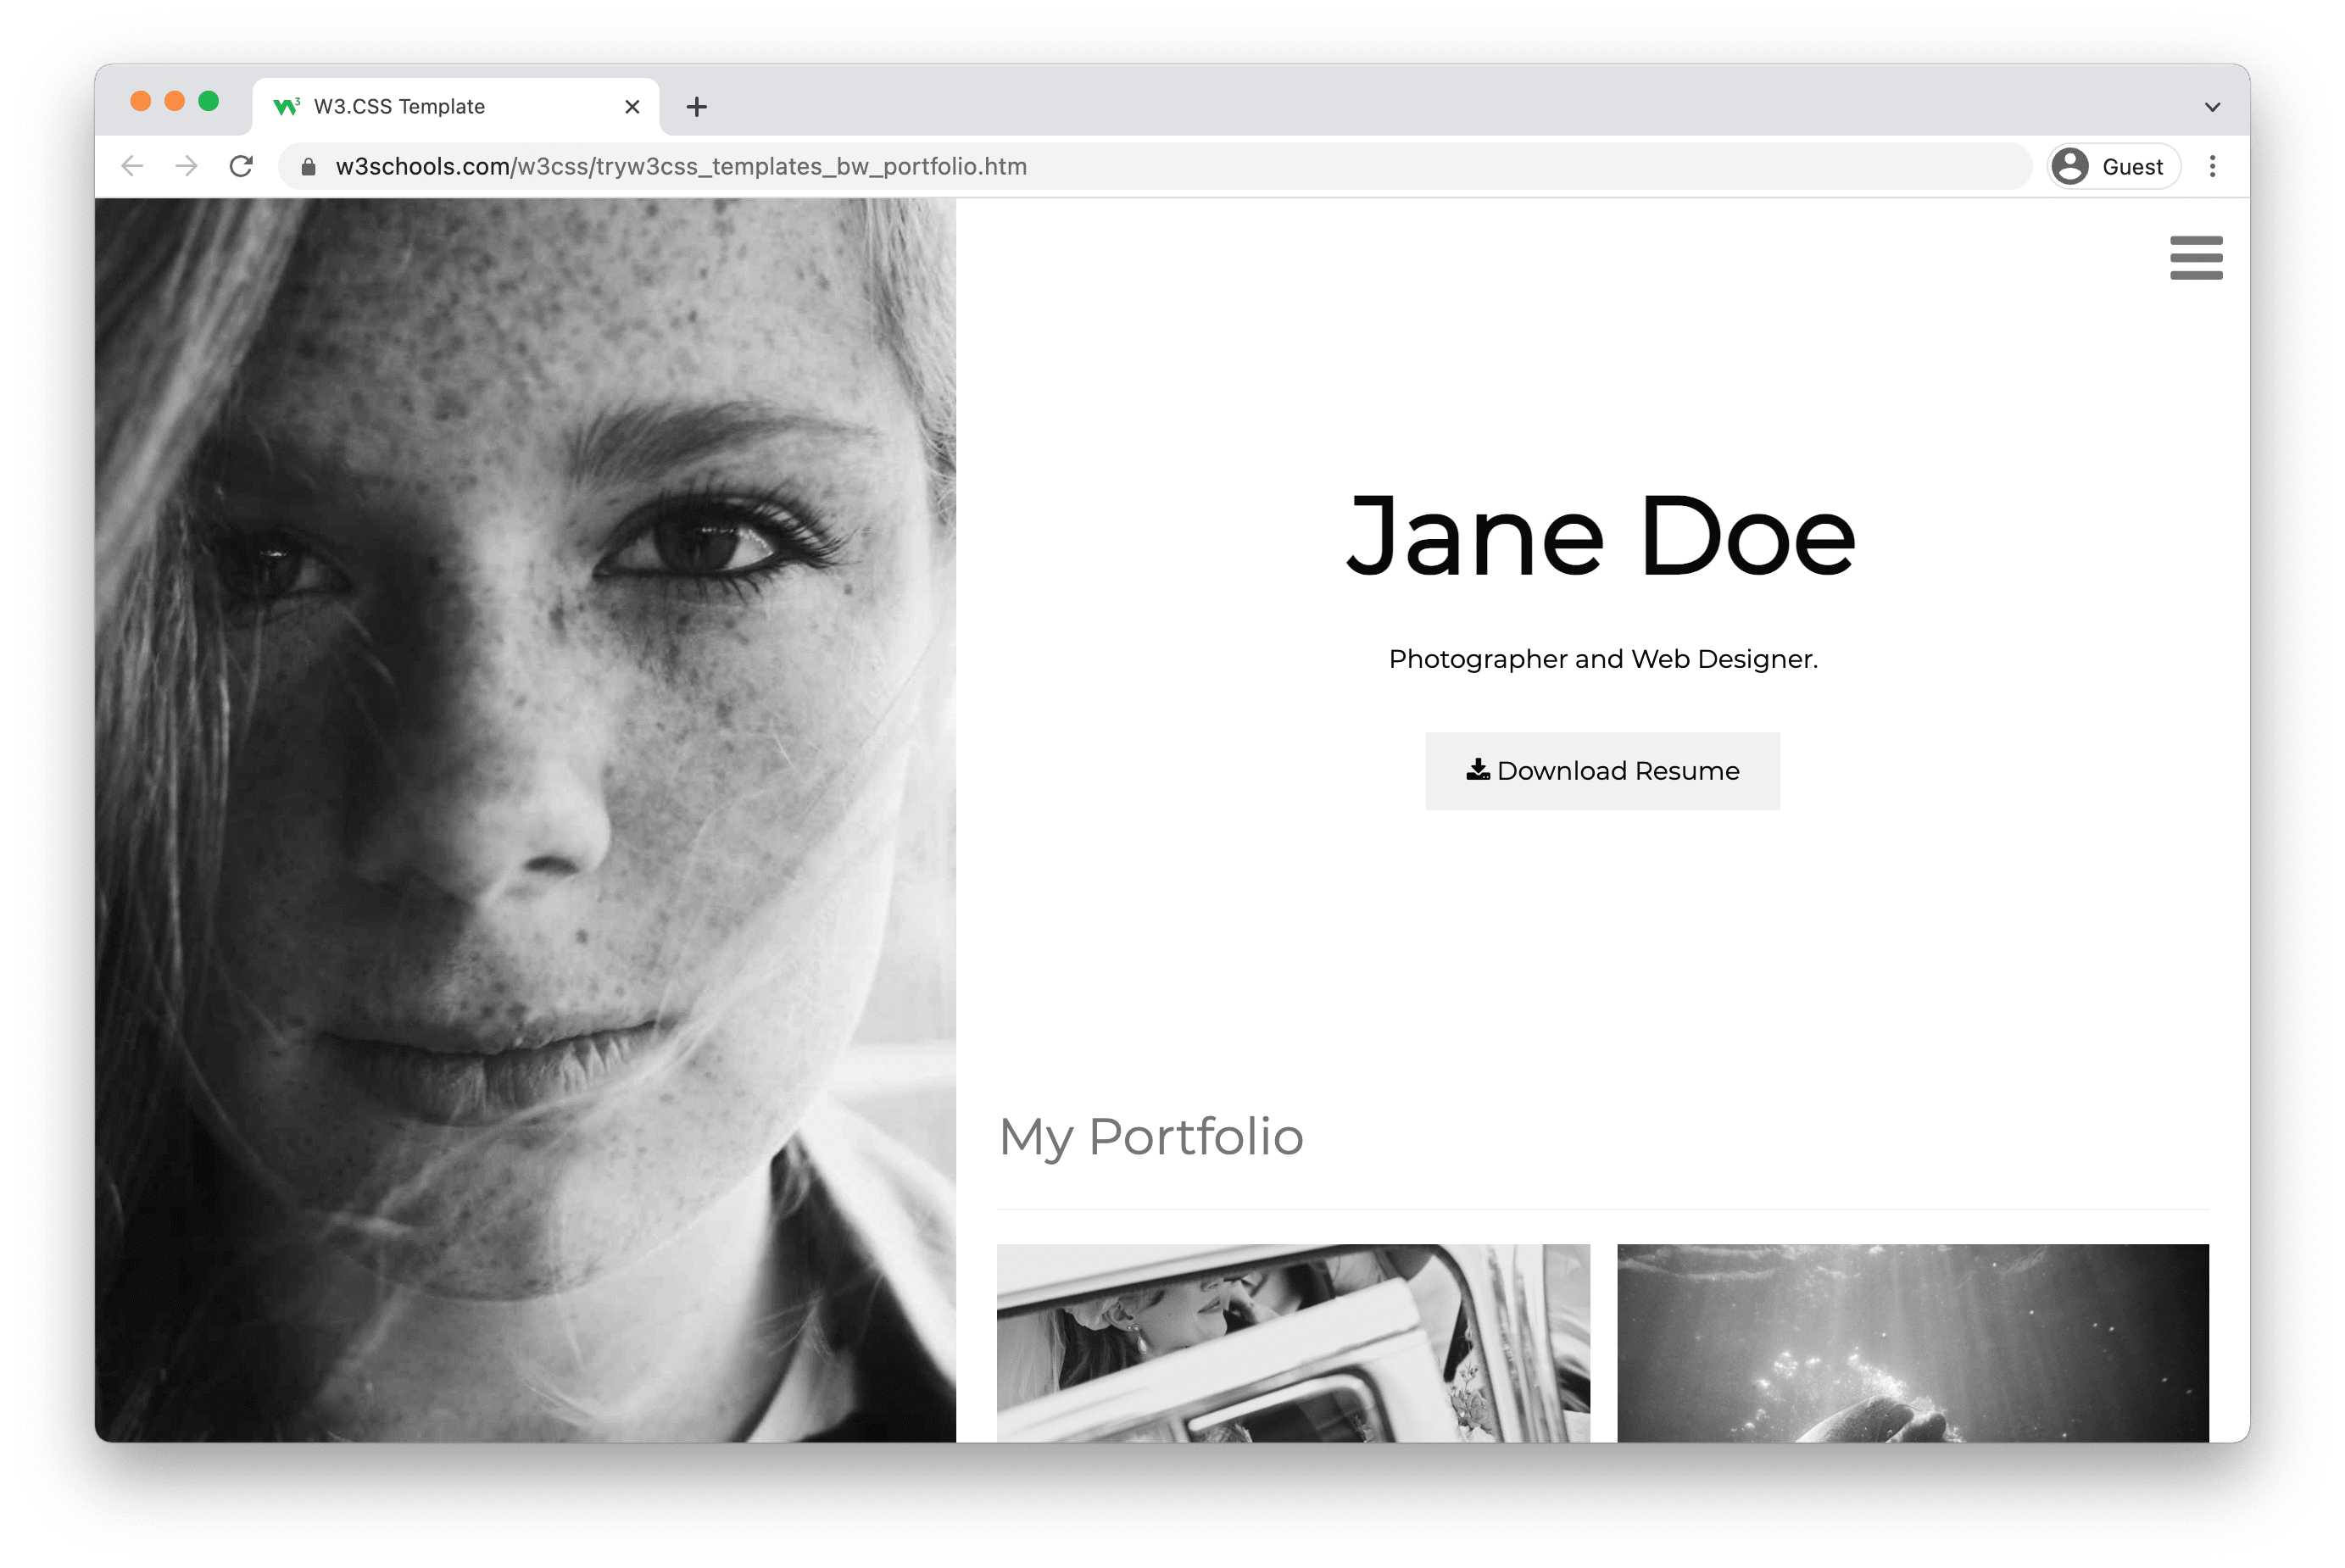
1. Helde-afdeling.
Die helde-afdeling is die eerste ding wat mense sien wanneer hulle jou portefeulje betree.
Dit word onder jou logo en spyskaart vertoon.
Die helde-afdeling help die leser om te verstaan wat jy bied, hoekom iemand saam met jou moet werk en die waarde wat jy met jou dienste verskaf.
Dit bevat dikwels 'n oproep tot aksie-knoppie soos "kontak my", "bespreek 'n vergadering" of soortgelyke.
2. Oor my afdeling.
Gee die leser 'n kort opsomming oor jouself.
Sluit vakke soos jou opleiding, werkservaring, projekte en belangstellings in.
Help die leser om te verstaan waaroor jy passievol is en jou superkragte (die dinge waarmee jy regtig goed is).
Onthou om dit kort en eenvoudig te hou.
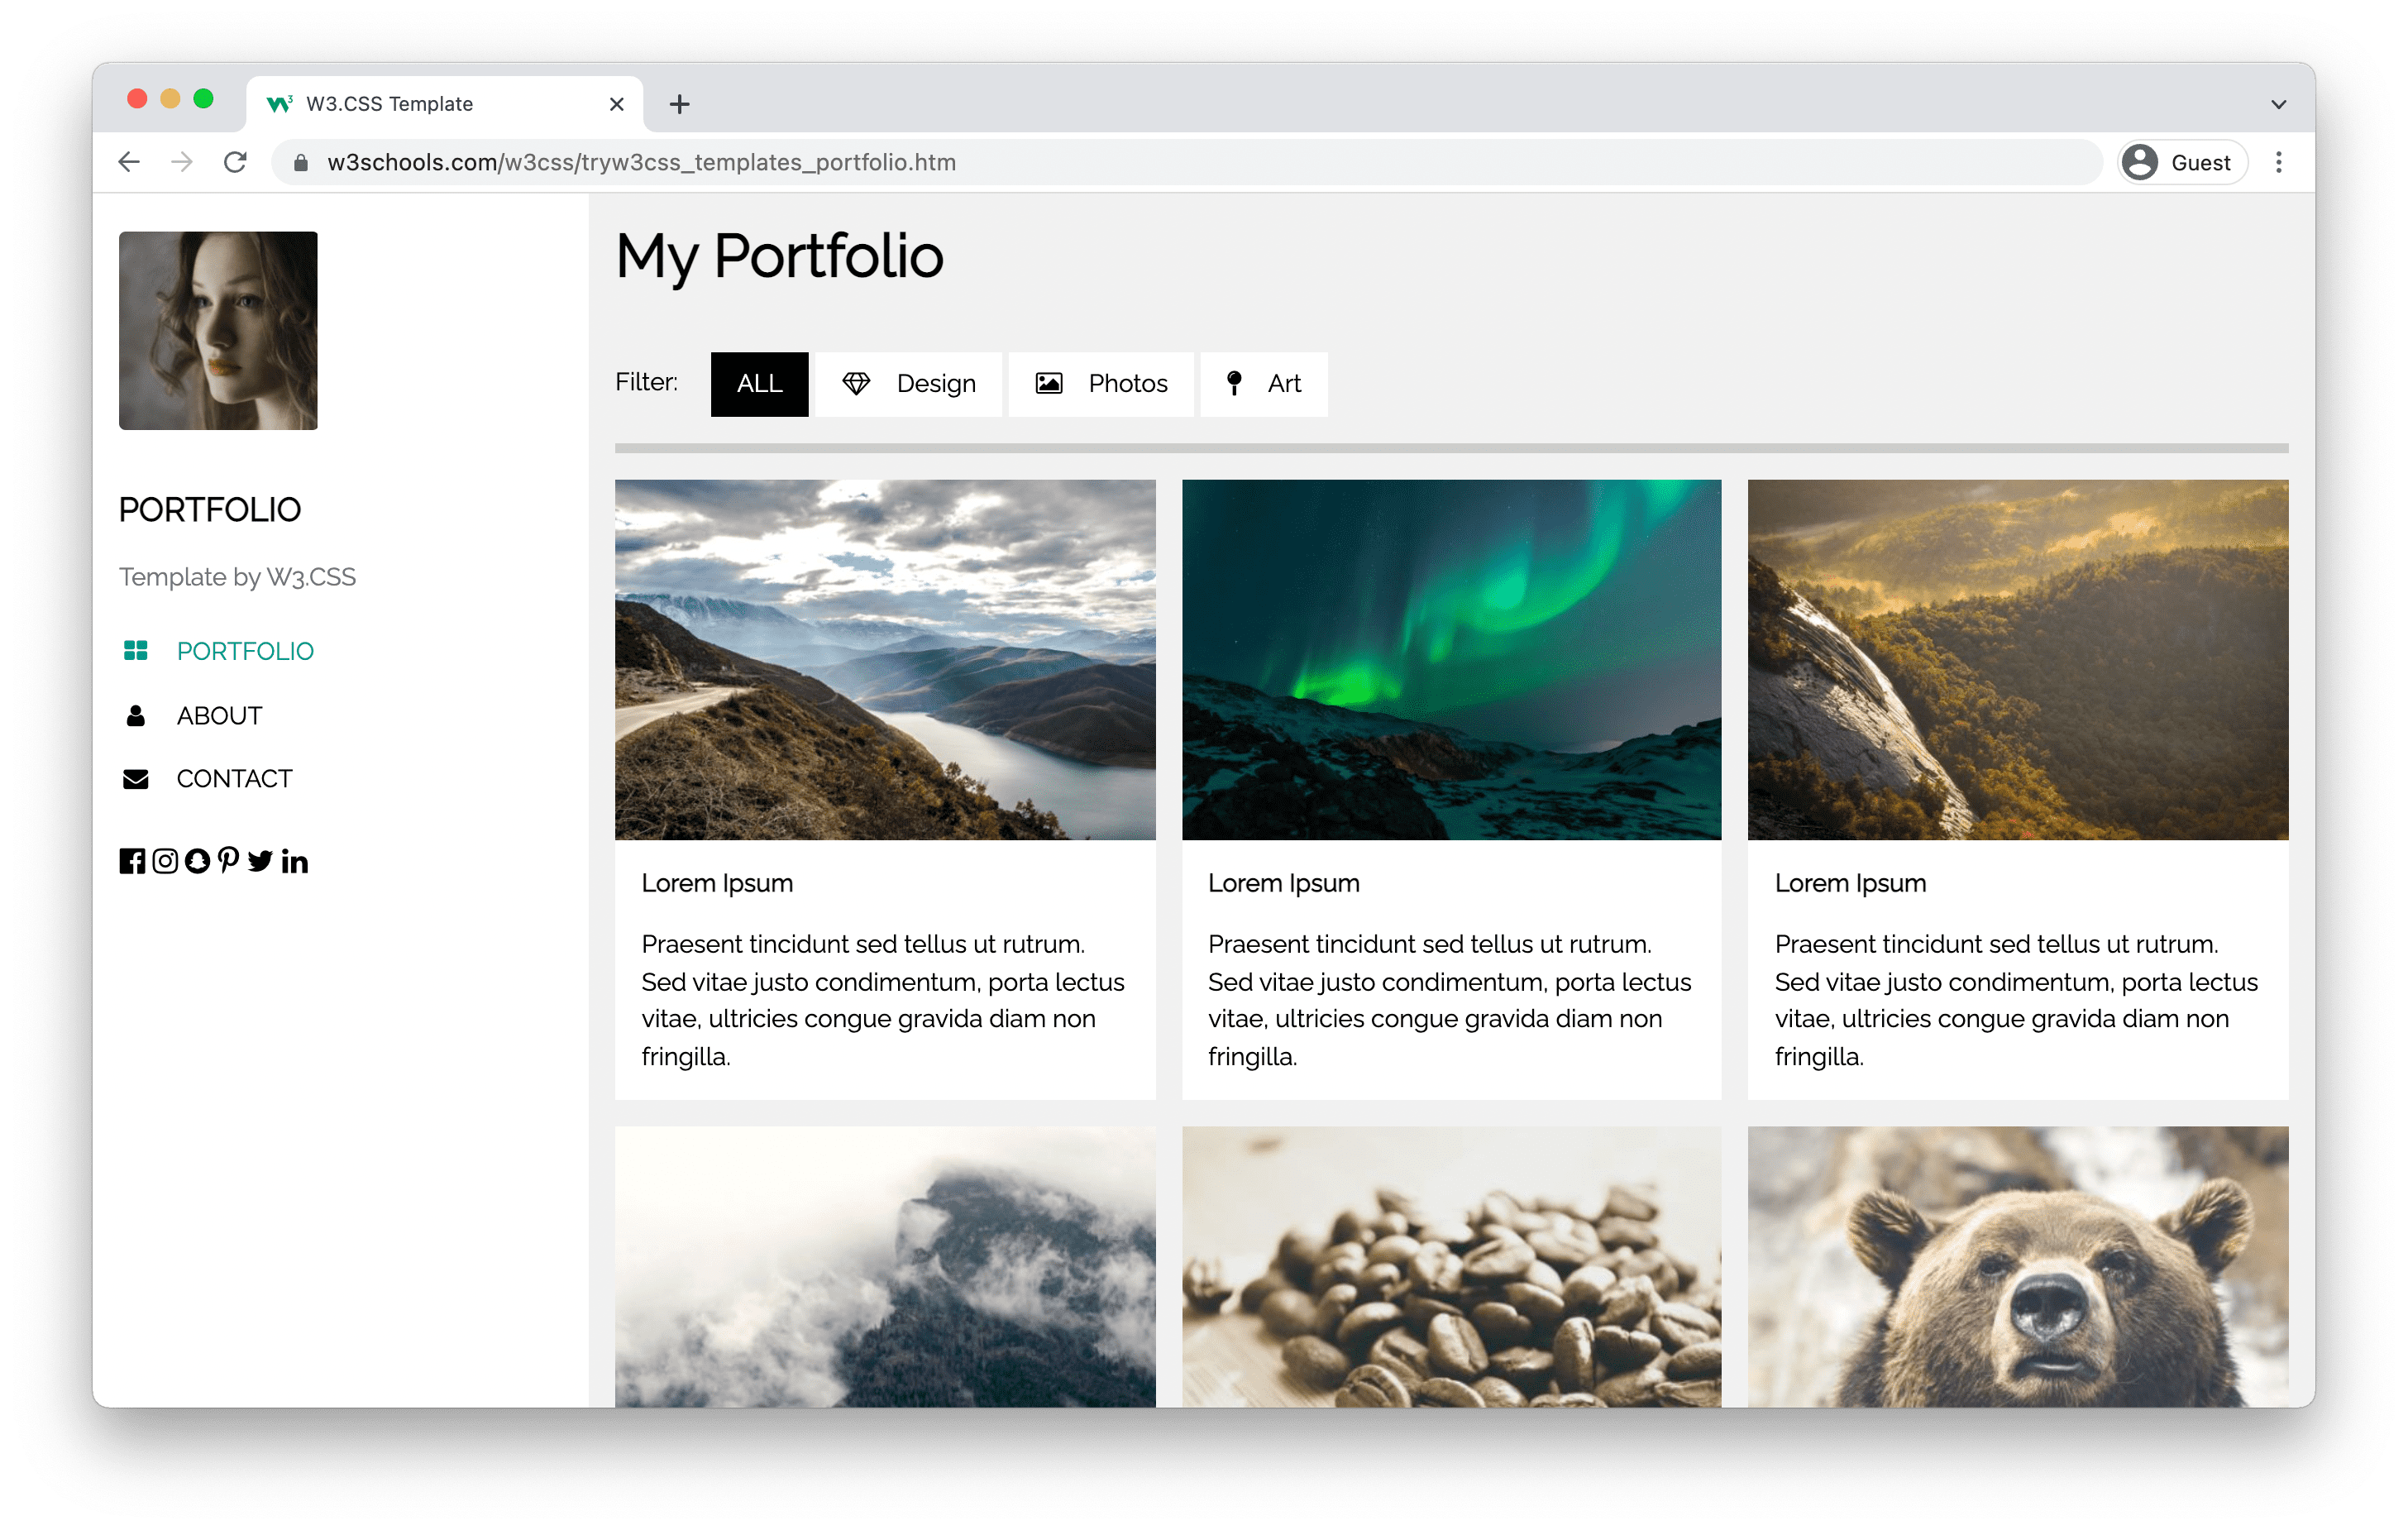
3. Projekte afdeling.
Lys die projekte waaraan jy gewerk het. Die mees gebruikte manier is om die lys volgens datum te orden, maar in sommige gevalle kan dit sin maak om dit op 'n ander logiese manier te orden.
Voeg besonderhede by elke projek, wat jou rol insluit, wat jy gedoen het en hoe die projek uitgedraai het.
Om prente by te voeg om te wys wat jy gebou het, is 'n pluspunt! Wys die dinge waarop jy trots is.
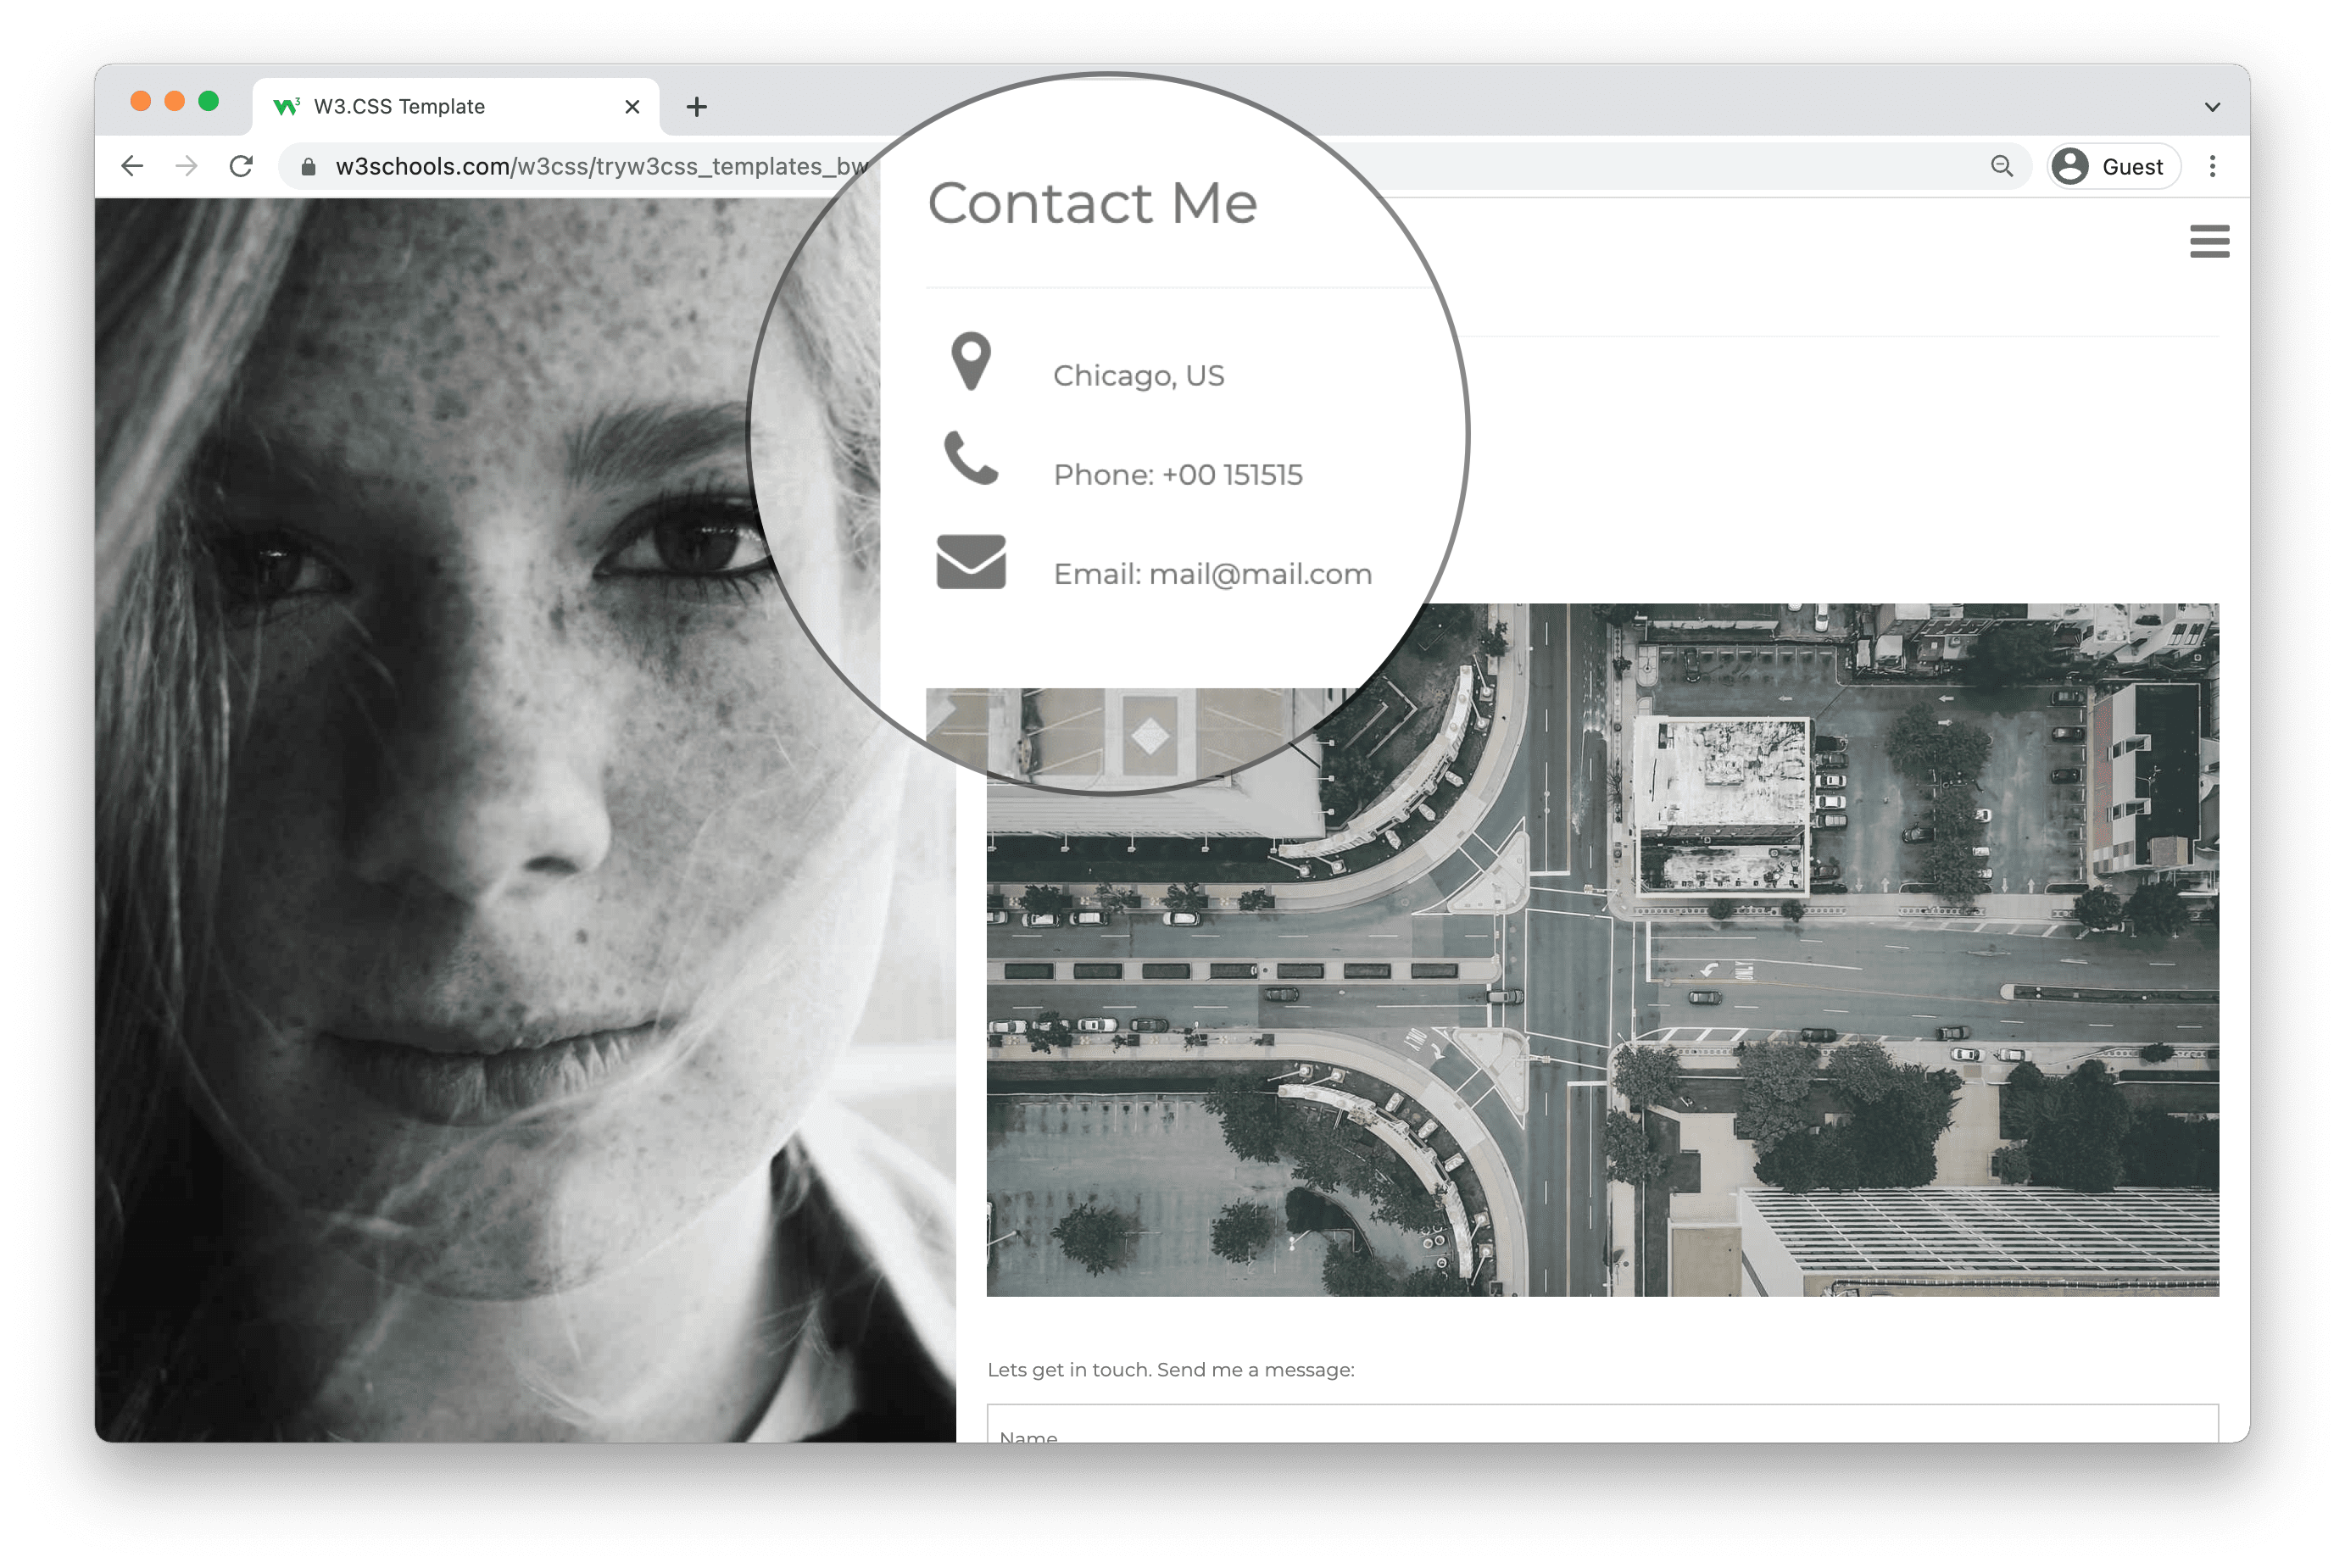
4. Kontak my afdeling.
Laat die leser weet hoe en waar hulle met jou in aanraking kan kom.
Voeg jou kontakbesonderhede en ander kontakkanale soos jou GitHub-profiel, LinkedIn, Youtube ensovoorts by.
Portefeulje voorbeelde
Kyk na 'n paar portefeulje voorbeelde.
Jy kan die portefeulje-sjablone in W3Schools Spaces laai . Begin met die publikasie van jou portefeulje in 'n paar kliks.
Publiseer my portefeulje gratis ❯* geen kredietkaart benodig nie
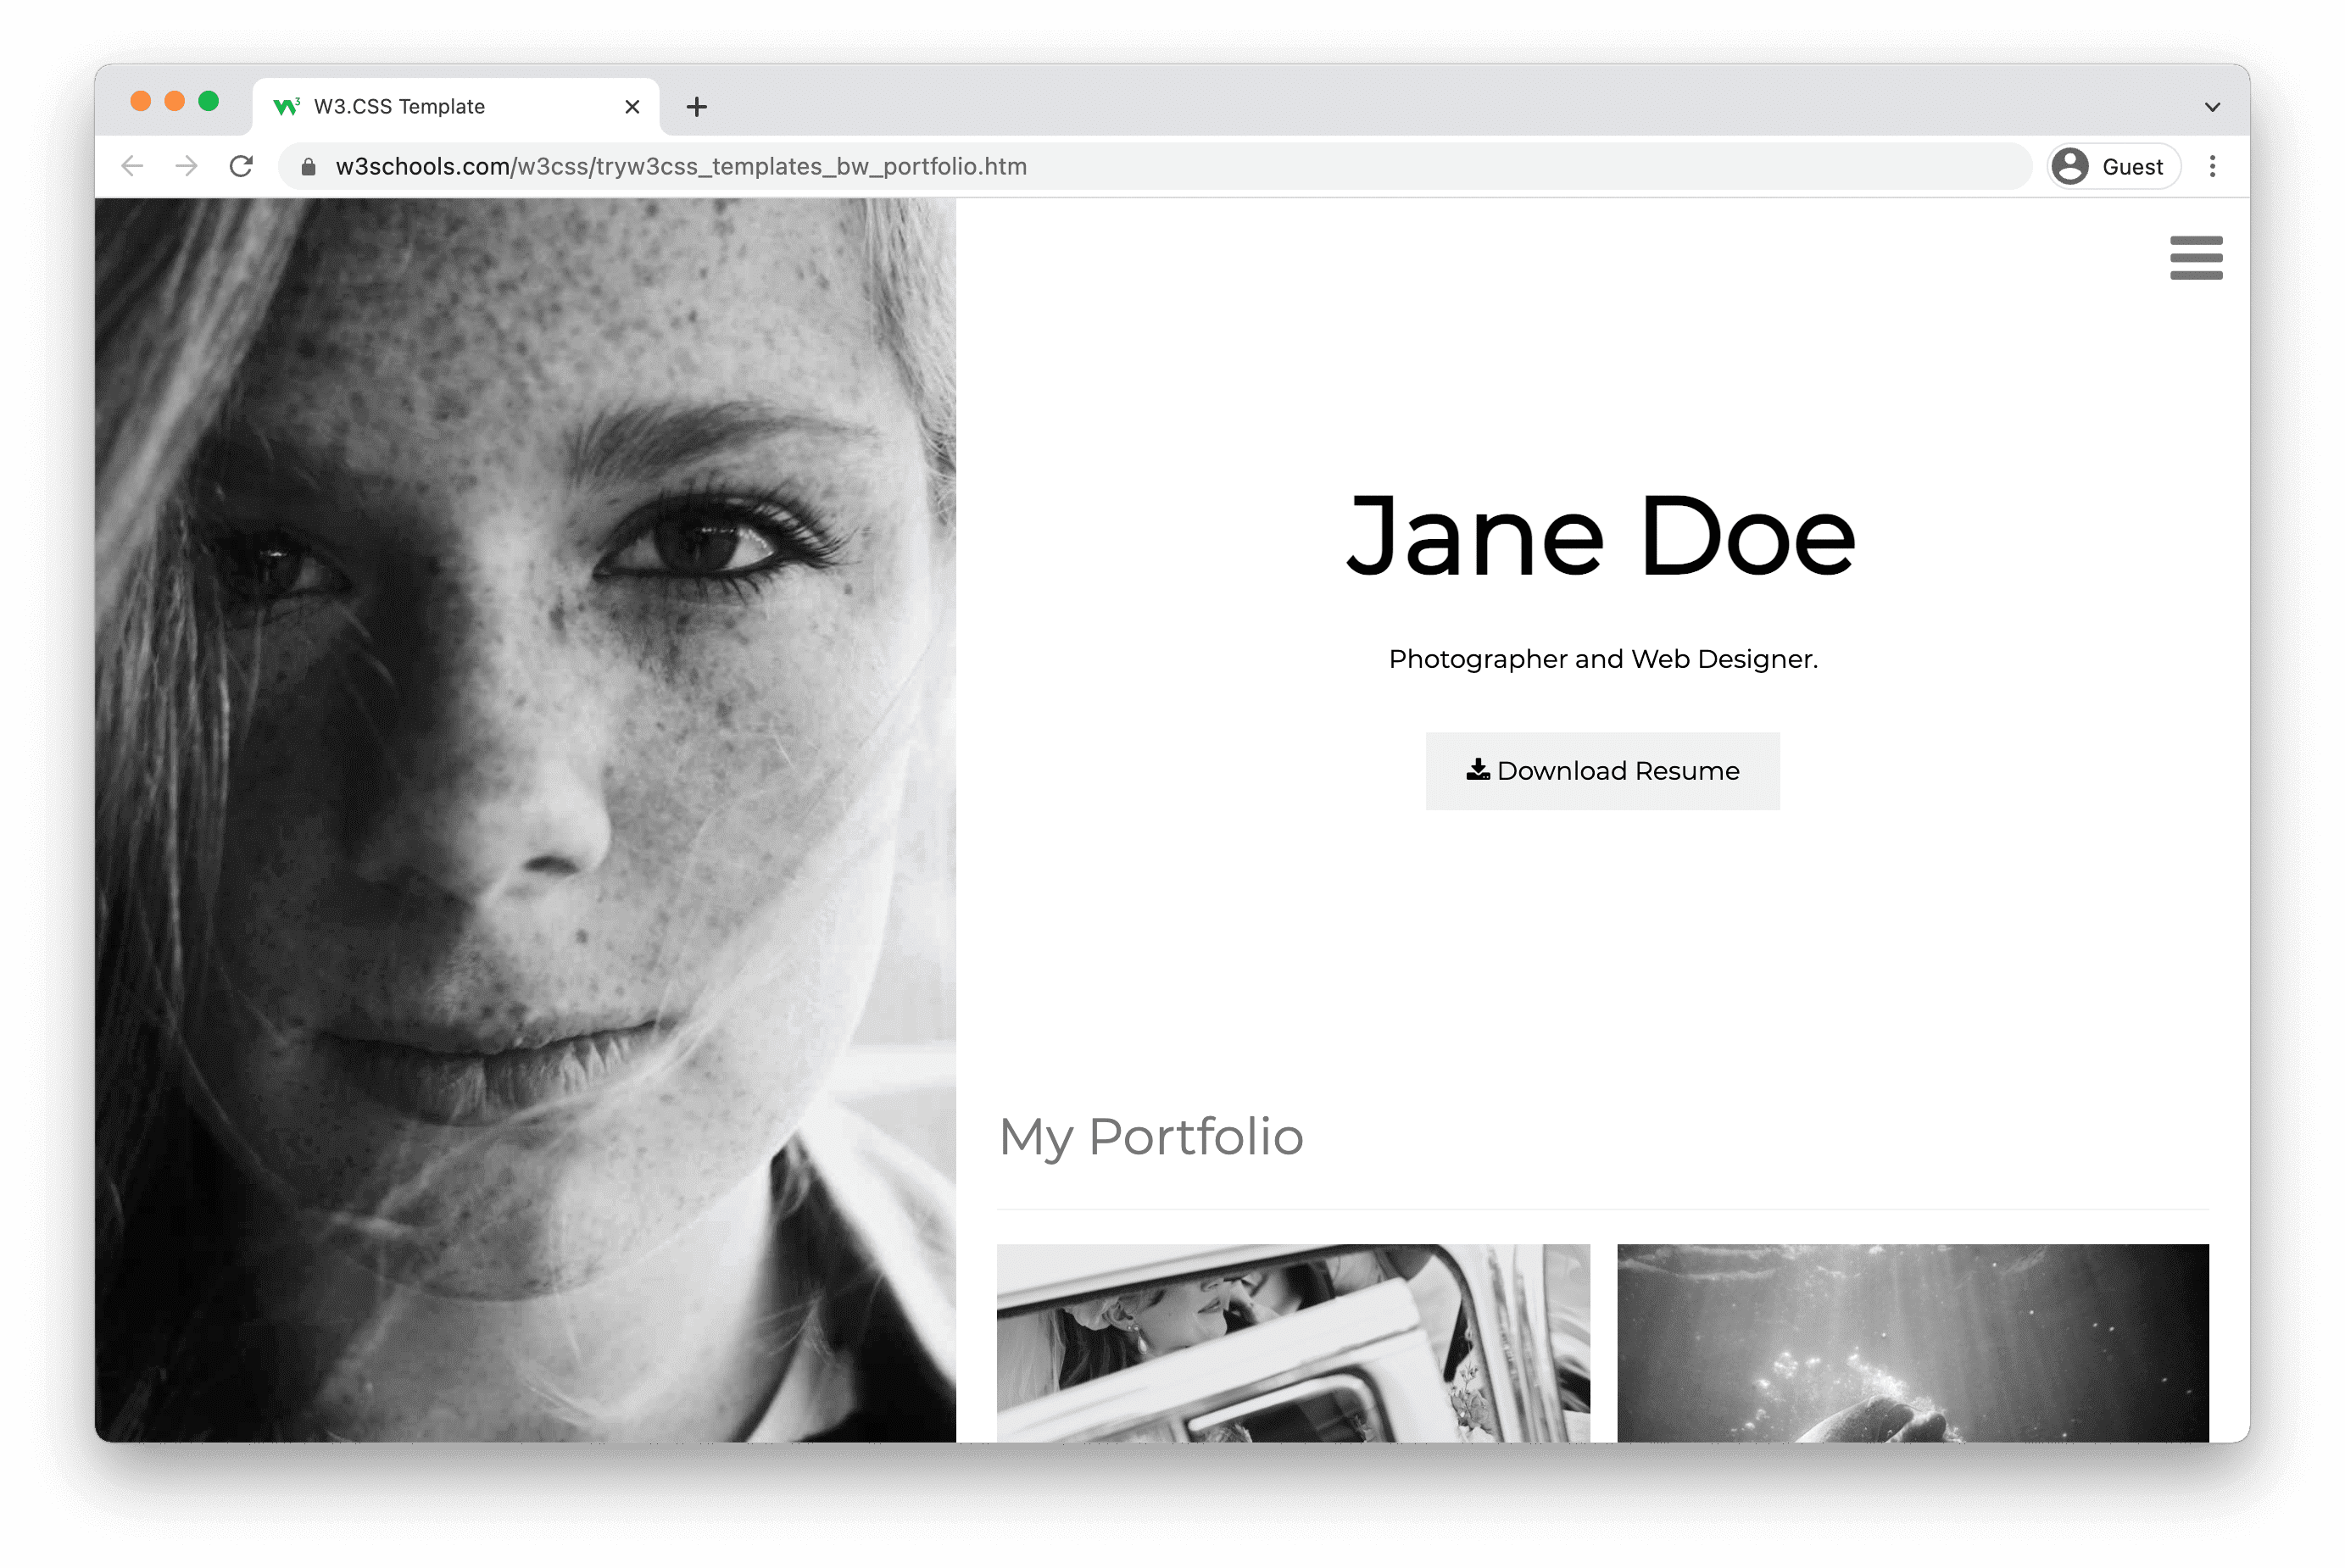
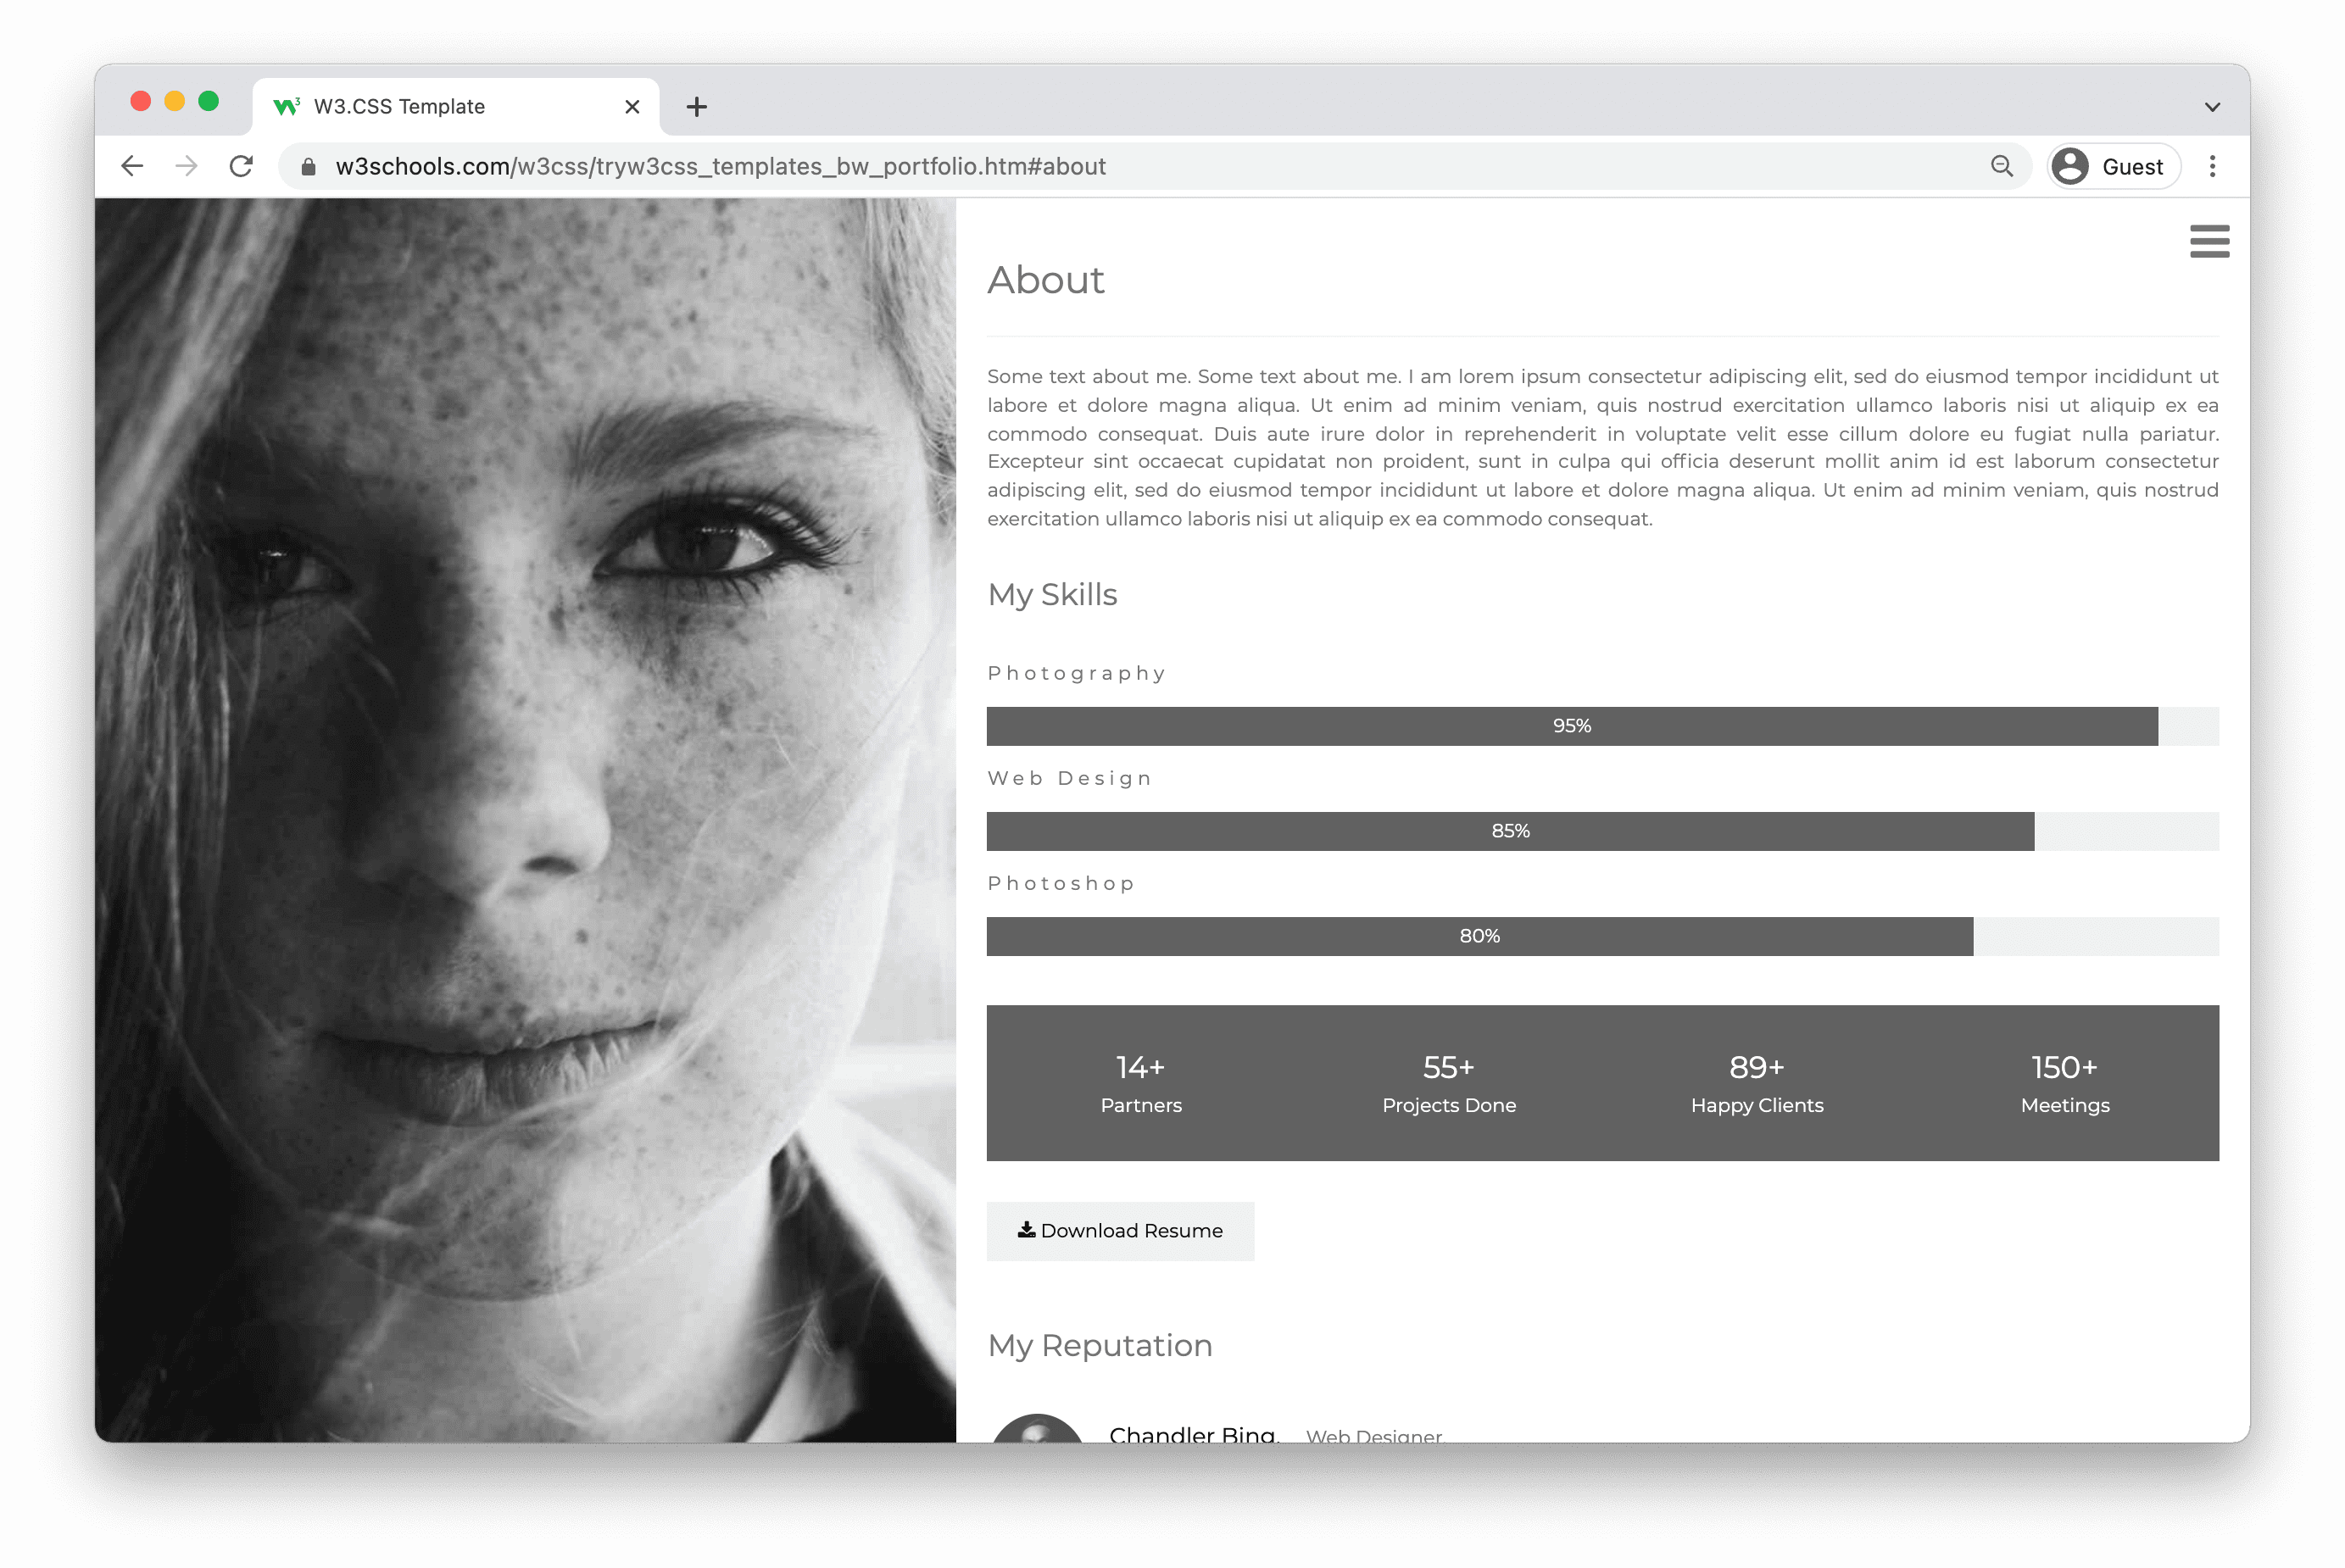
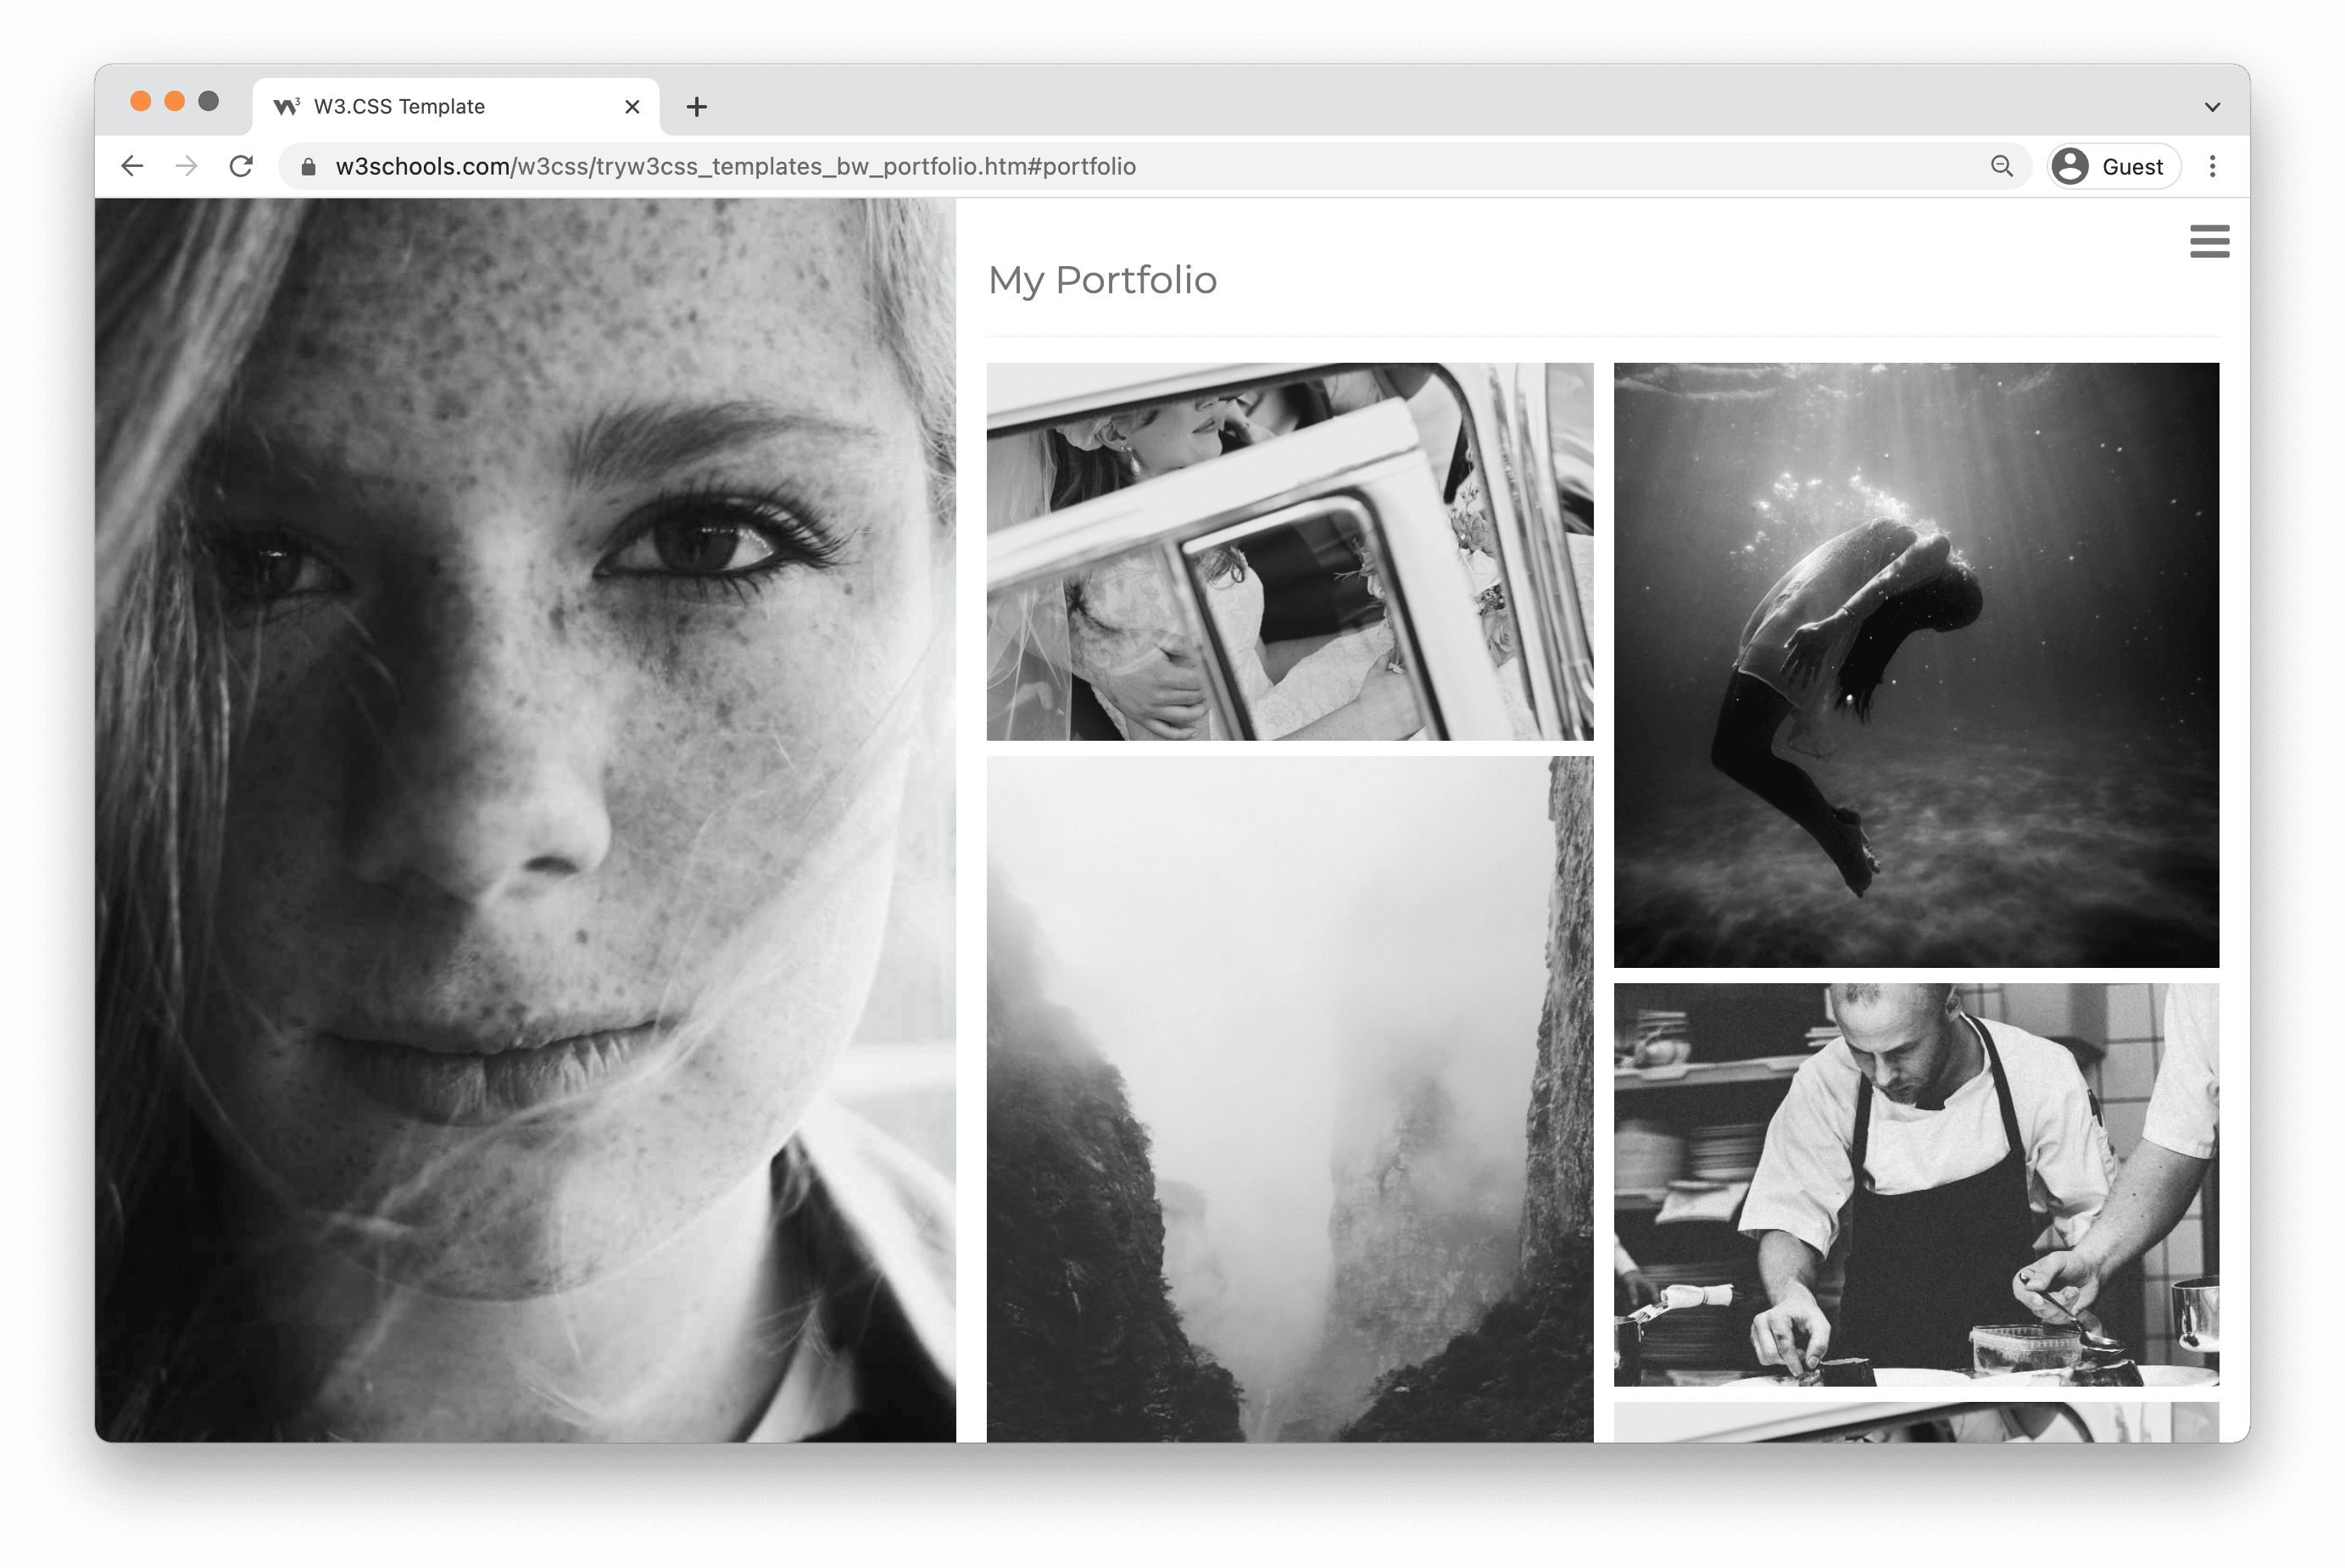
Swart en wit portefeulje sjabloon
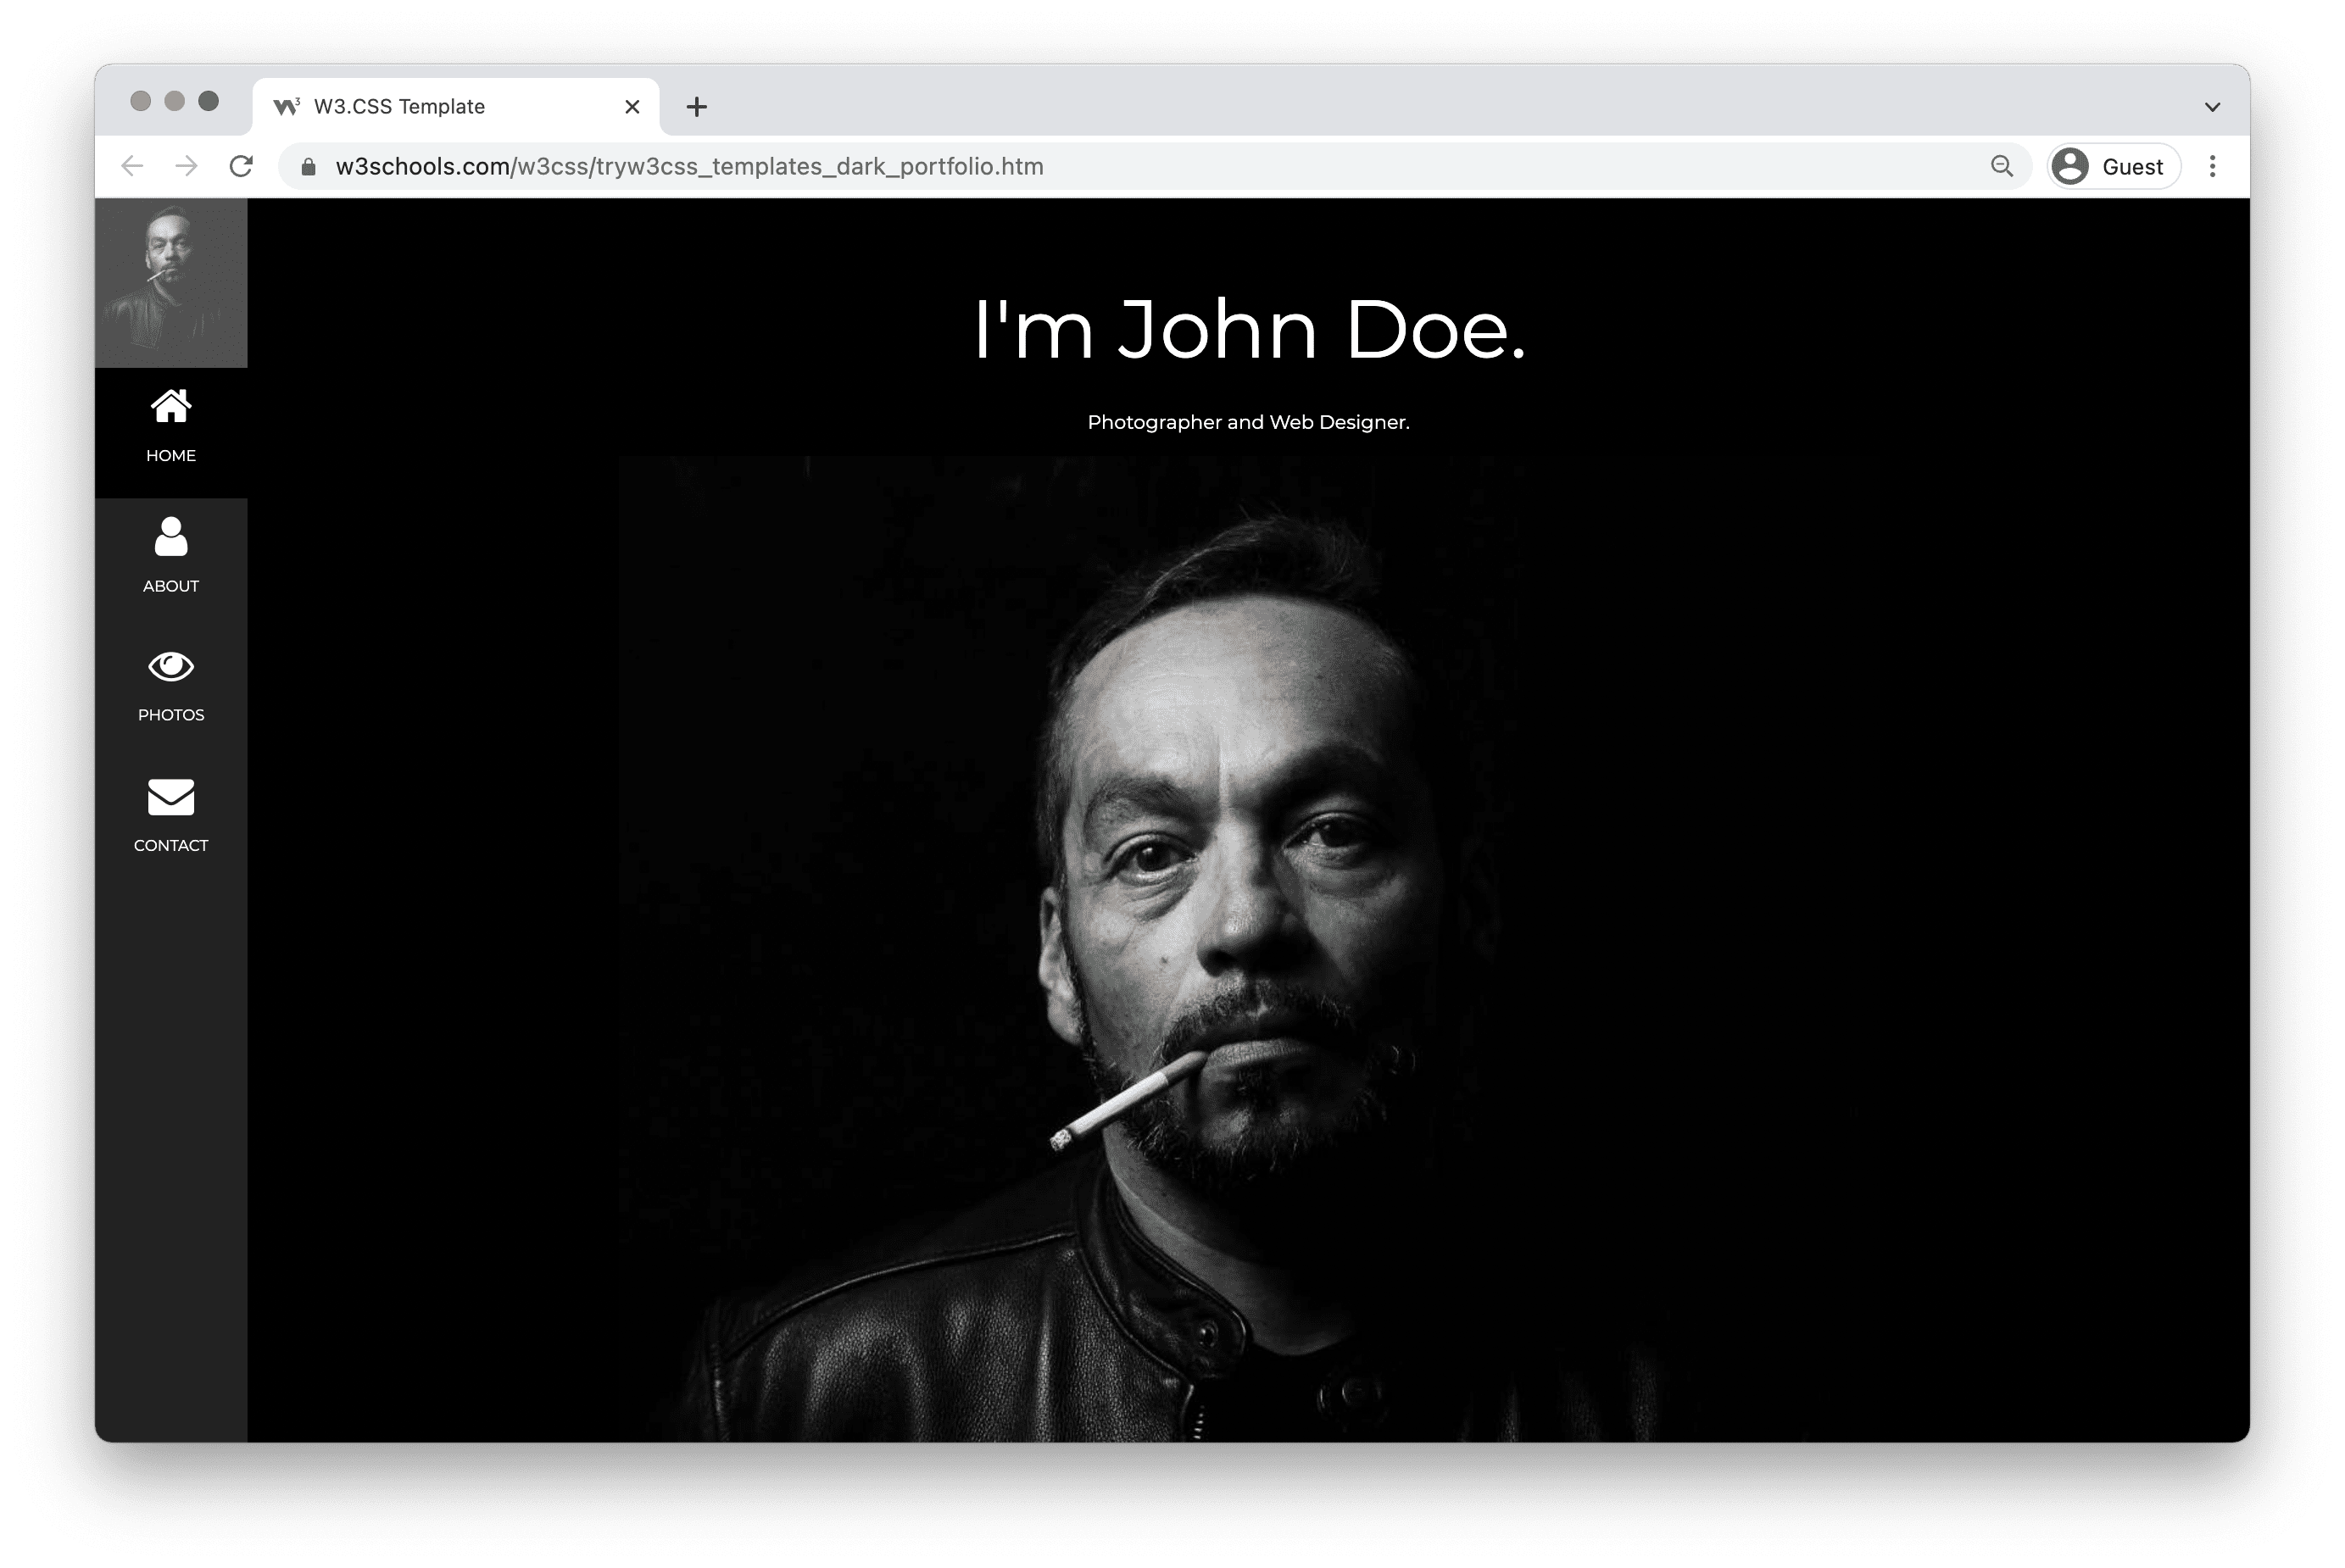
Dark Portfolio Template
People Portfolio

My Portfolio Template
What do I need to know to create my own portfolio?
HTML, CSS and JavaScript are the foundational languages to create a website.
You can come a long way just using these three!
- Create the structure with HTML. The first thing you have to learn, is HTML, which is the standard markup language for creating web pages. Learn HTML ❯
- Style with CSS. The next step is to learn CSS, to set the layout of your web page with beautiful colors, fonts, and much more. Learn CSS ❯
- Make it interactive with JavaScript. After studying HTML and CSS, you should learn JavaScript to create dynamic and interactive web pages for your users. Learn JavaScript ❯
How to create a portfolio step-by-step
Follow the steps to create your portfolio from the ground up.
Preparations
Decide which code editor to use and set up your environment.
W3Schools has created an easy to use code editor called W3Schools Spaces. Sign up and get started in a few clicks.
Start for free ❯Create your index.html file. So that you are ready to enter the code.
All set up. Lets go!
Step One: Add HTML Skeleton
Type an HTML skeleton code, which is the starting point for your website. It is the structure which holds the code and ensures that it is properly displayed on the internet.
Read here for how to create a basic HTML Skeleton: How to create a HTML Skeleton
Step Two: Add Navigation Bar
The navigation bar is a short representation of the content on the website.
It is one of the first things that a visitor will see.
It helps the visitors to find and navigate through the content on website. It is important to create well-structured navigation. So that your visitors can find what they are looking for.
Here is an example of how to create a top navigation bar: How to create a Top Navigation Bar
Step Three: Add Hero section
The Hero section, together with the navigation bar, is the first section of your portfolio that people will see.
It should contain short information about several things such as:
- Who are you?
- What do you offer?
- What is your profession?
- Why should people work with you?
- Which actions should you take?
Write in first-person and keep it short and simple.
Additional things preferred in the hero section are:
- Eye-catching graphics, either as a background or side-by-side with the text.
- An action button that leads to content on your portfolio or to the content of another website.
Here is an example on how to create a Hero section: How to create a Hero image
Step Four: Add About Me section
In this section, you can get creative. This can help you to to stand out.
Here you can personalize the content and write about yourself more in-depth.
The content you can include in this section is:
- Your introduction
- Who are you as a professional
- Your education
- Your skills
- Your work experience (present and/or past)
- Your hobbies
- Your goals and ambitions
In a way, you can consider the "About me" section as a short summary of your CV.
Feel free to write about yourself in first person.
Personalization and making people understand you as a person might bring you more attention.
Here is an example on how to create an about me section: How to create an About Me section
Step Five: Add Work Experience section
The work experience section highlights the experience, knowledge, and competence that you have made along your way.
Here you can add:
- Links to your projects with the project name and/or short description of what the project is about.
- Links to blog posts that you have written with title and/or short description about what it is about.
- Your professional awards or achievements.
- Highlighting your work and your accomplishments is a way to create opportunities for yourself.
- Visual representations such as images or graphics.
Step Six: Add Contact section
The contact section is the section that lets your visitor get in touch with you.
You should always include a way for visitors to contact you, either through a contact form or by writing down your contact information such as:
- Address
- Phone number
- E.g. Github profile, LinkedIn profile, Youtube profile and so on.
Here is an example on how to create a basic contact section: How to create a Contact section
Step Seven: Add Footer section
The footer can be experienced as a minor section, but it is an important one of every website.
It is about showing critical information based on your website goals and the needs of your visitors.
Often it contains technical information about copyright, but it can hold other information, such as:
- Link to "Privacy policy" page
- Link to "Terms of use" page
- Contact information
- Website navigation links
- Links to social networks
- Link to your shop
Here is an example on how to build a footer section: How to create a Footer section